
post by Timothy Corey
This post will describe the new features of AutoCAD 2019. A few of these features were introduced in AutoCAD 2018.1.2 Update.
Before we get started, here's my favorite new feature in AutoCAD 2019:


You might pick out one or two differences immediately, but how long will it take you to find twenty differences?

or on the Drawing Utilities sub-menu of the Application menu

Select the two drawing files you want to compare. If any drawings are open when you invoke the command, the current drawing will be auto-selected as DWG 1. The other drawing, DWG2, must be selected from browse, even if it is an open drawing.

Once the two drawings are selected, press Compare and watch the magic happen. Drawing Compare will create a new drawing that looks similar to your two existing drawings, but there will be only a few colors.

If you have not modified the default colors, Green is for objects that are unique to DWG1, Red is objects unique to DWG2, and Grey is objects that are the same in each drawing. Orange is the color of the revision clouds that automatically encompass the differences.
Use Draw Order to set which comparison drawing display on top.

Turn on or off objects belonging to only one drawing or those objects that are common, and change colors for each:


Turn the Revision Clouds on or off, set the shape of the Revision Clouds, and set Margin between the cloud and the objects it encompasses. A smaller margin value will produce more and smaller revision clouds:

Small Margin setting:


Notice as you slide the margin that the Total Number of Change Sets updates to show the number of revision clouds.

Use the arrows to let AutoCAD zoom you around the drawing, so that you can inspect and repair as necessary.
We don't know how, or if, this function will be implemented in Civil 3D 2019. Stay tuned...
On the ribbon, go to the Collaborate tab, then Shared Views.

Press New Shared View.

Give your share a name and decide which views to share. If you are currently working with Model tab open, selecting Share current view only, will include all model views, but not layouts. If a Layout tab is current when start the new share, and you select Share current view only, that layout will become the single sheet in your online share.

Once you press Share, and then press Proceed, the process will begin to run in the background. You can continue using AutoCAD as normally. You will be notified when your share is available for viewing.
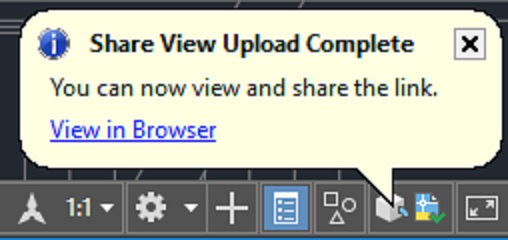
Press the View in Browser link and you will be taken to the Autodesk Viewer website with your model views and sheets listed on the left and displayed on the right.

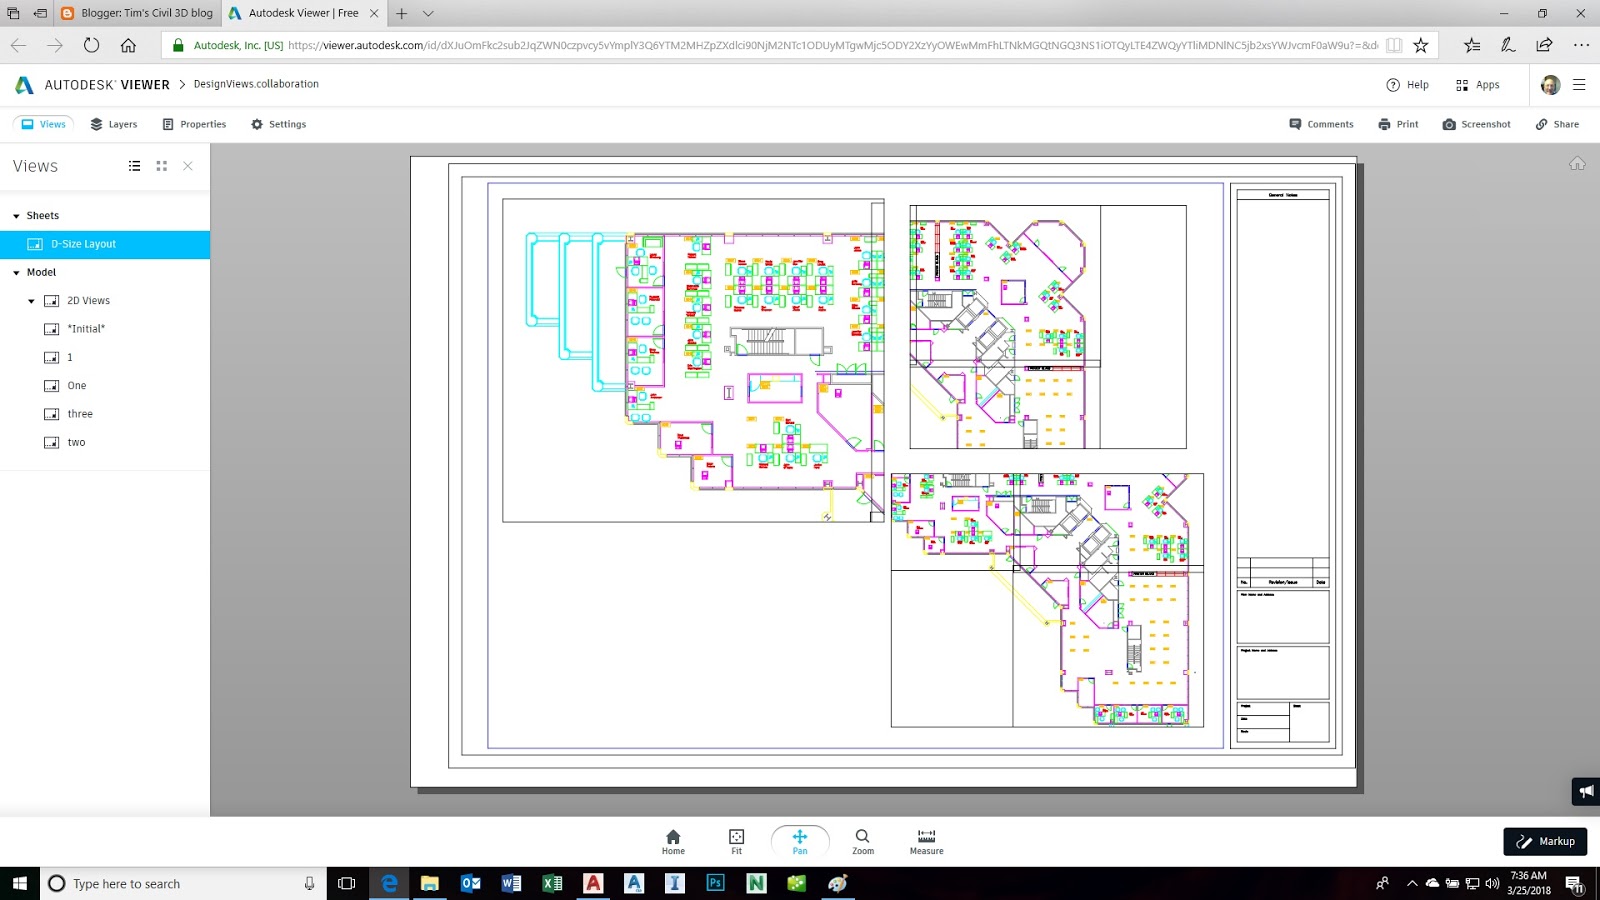
To share with others, simply enable the Share menu:

Expand and set Sharing Options. When your settings are correct, press Copy to copy the link to the Clipboard. Paste the link into an email to send to those with whom you want to share.

Colleagues with whom you share will be able to comment and provide Markups.

4. We're very happy to see the new ability to Insert Named Views as Viewports. Once you've created your model views and you're ready to assemble them on sheets, use the Insert View command from the Layout ribbon tab.

While inserting, right click to view the drawing's scale list. Pick one and note the change in the size of the viewport. If you like the fit, move it into place and pick.

This new functionality lets you make rapid work of assembling sheets. Congratulations on your newly-found free time. Smiley wink.

As you can see from above, using Named Views is taking on a greater importance. Knowing that you will be creating more views, the software team have streamlined the dialog box where you create Views. A couple of clicks and you're done.

If you do want to see the full dialog, just press that little downward arrow in the bottom left corner.
You can streamline the process further, by Inserting a new view as a viewport. If you don't need to save the model view with a name, use the New View button from the Insert View gallery. This will let you pick a window for a new view, right click to set scale, and then pick a location with this single command. It's very efficient.


Select the grip and you will be given a menu of scales. Pick a different scale and notice your viewport change size to accommodate the view at that scale.


Those are my favorite enhancement in AutoCAD 2019. Some others include better tools for identifying layer properties overrides in viewports and Xrefs, speed enhancements, and better support for 4k monitors.
Tim Corey