Although AutoCAD Civil 3D includes an Intersection object, making complex intersections easier to design and maintain, it is helpful to know how to manually create an intersection so you have a better idea what the Intersection Wizard is doing in the background.
This article takes you through a very simple example of how to manually create an intersection using an AutoCAD Civil 3D corridor.
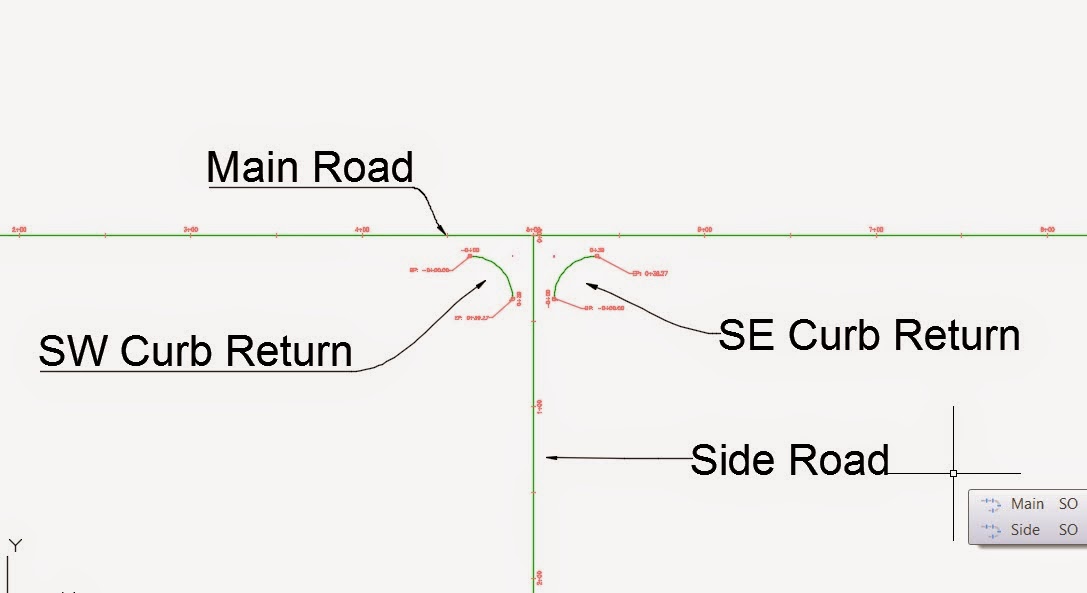
It helps me to layout the intersection using lines or polylines. In this example, we have a main (through) road and a side road that create a T intersection. Each of these will become an alignment. In order to properly model the intersection, we will also need an alignment representing each curb return.
The first step is to layout the alignments using lines and arcs.
Next, use CreateAlignmentEntities command to create an alignment from each object. We end up with four alignments.
You will need to create a finished ground (layout) profile for each alignment. You do not necessarily need existing ground, but in most cases you will use it for reference. Here we have design profiles for Main Road, Side Road, SW Curb Return and SE Curb Return.
Next, create your Assemblies. In the example, Main Road and Side Road will use the same full-width assembly, which includes 12' travel lanes and Curb/Gutter subassemblies on each side. For simplicity, we are not using shoulders or daylighting.
Notice above that we have a full-width Assembly for Main and Side, but we also have a half-width Assembly that will be applied to Main within the region between the curb returns. Also notice that the Curb Return Assembly includes a lane on the left side and a curb/gutter on the right. This is so that we can make the lane widen and elevate to follow the centerlines of Main Road and Side Road.
The next step is to create the corridor. This is the rough-draft version and will include the full-width Assembly running the entire length of Main Road.
For our example, lets not create additional regions yet and view the corridor at this point.
This looks pretty good, but we now need to eliminate the travel lane and curb-gutter from the intersection. We do this by creating a region that uses the half-width assembly. Go into Corridor Properties, Parameters tab, right click on the existing region and select Insert Region After.
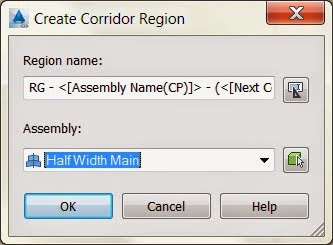
When the Create Corridor Region dialog appears, select your Half Width Assembly and press OK.
The baseline Main will now include two regions. You must adjust their stationing. In the first region, we will leave the starting station at 0+00, but we want the end of this region to be the station where the SW Curb Return begins. Press the button at the right side of the box for End Station in the first region.
After a pause, the program will take you to the drawing screen, where you can snap to the endpoint at the beginning of the SW Curb Return alignment. Use the same point as the start station for the next region and use the far end of the SE Curb Return alignment as the end of the second region. Right click the second region and pick Insert Region - After, choosing the Full Width assembly for this last region on the Main baseline. Your corridor properties should look similar to this:
Notice the baseline name followed by its three regions. Press OK and you will have a corridor that look like the following. Notice the gap in the intersection.
The next step is to add a baseline for the Side Road alignment. Go back to Corridor Properties, Parameters tab. Press the Add Baseline button.
On the Create Corridor Baseline dialog, pick the Side road in the Horizontal Alignment dropdown list.
In the Profile column for the Side Road baseline, click where it says Click Here. Select your finished ground profile.
A region will not automatically be created, so right click the Side Road baseline and select Add Region.
On the dialog, pick the Full Width assembly. Pick the + sign next to the Side Road baseline to expose the new region. Set its start station to the southerly end of the SW Curb Return alignment. Press Ok. Now you have a single corridor with two baselines and a gap in the intersection area.
Using the same method as before, add each curb return alignment as a baseline, picking the FG profile and creating a region that uses the Curb Return assembly. The region start and end stations will be left to the defaults, but, for each curb return baseline, we need to set targets. For the first baseline, press the Target ellipsis button. Notice that the LaneSuperElevationAOR is asking for a Width Alignment and an Outside Elevation Profile.
Press where it says None in the Width Alignment row and Object Name column. Set Object type to target to Alignments. In the Select Alignments box, hold CTRL while selecting Main and Side alignments. Press Add and then OK.
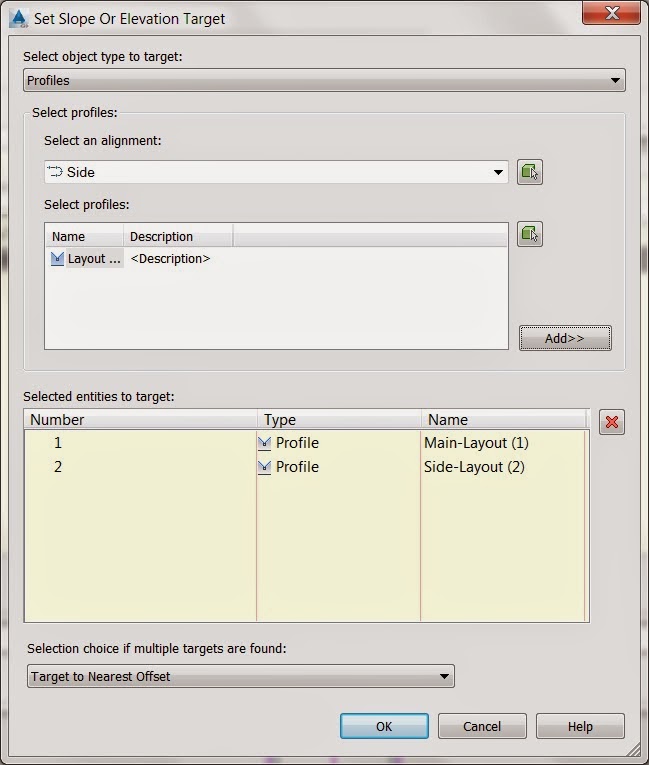
Now press None in the Outside Elevation Target row and Object Name column to select the elevation control. Set Object type to target to Profile. Select Main alignment and its finished ground profile and press Add. Then select the Side Road alignment and its finished ground profile and press Add.
Press Ok until you are back at the Parameters tab. Perform the same method to set the targets for SE Curb Return baseline. Finally, press OK to get out of Corridor Properties and check out your intersection.


No comments:
Post a Comment